Your First Flight
This guide walks through a typical flight session: recording a track, using the predictive track line, and reviewing your flight afterwards.
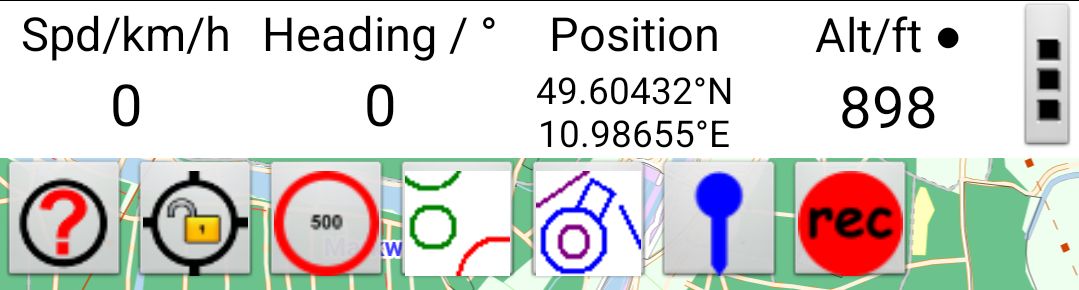
The Button Bar
The button bar at the bottom of the screen gives quick access to the most-used features:
Before Launch
- Open JBalloonNav and verify your position appears on the map (blue marker)
- If the map isn't centred on you, tap
 Find Me
 - Optional: tap
 GPS Lock to keep your position centred as you move
Start Recording
- Tap
 Start Tracking in the button bar
 - The icon changes to indicate recording is active
- Your track will be drawn on the map as you move
Tip
Enable Settings → Keep Screen On to prevent the screen turning off during flight. Alternatively, grant background location permission and the track will record even with the screen off.
During Flight
- The predictive track line extends ahead of your position, showing where the wind is taking you over the next 15 minutes (default). The line alternates colours every 15-minute segment.
- The status bar at the top shows your position, altitude, speed, and bearing. Long-press any field to change what it displays.
- Tap
 to toggle airspace boundaries on/off.
After Landing
- Tap Stop Tracking
- Go to ☰ Menu → Manage Tracks to see your recorded track
- View statistics: distance, duration, average speed, max speed, min/max altitude
- Export your track as GPX or CSV if needed
Review Wind History
During recording, the app captures wind speed and direction at each altitude. To review:
- Tap ☰ Menu → Wind History
- View a table of wind velocity at each recorded height